
If your device has a solid-state drive (SSD), you have definitely seen that when it fills up, performance substantially decreases. You will notice this when operations like transferring files and starting applications take longer than normal. In certain cases, this may also result in freezing problems that make it more difficult to use your device. If it is an external SSD, transferring files might be slower as well.
To answer your question straight up: Yes, SSDs start to slow down when you keep piling up its Flash with more and more data. But, this difference isn’t very huge. You can still utilize your SSD almost exactly as you were using it on its first day. The performance degrade can be seen only when you want to move huge files.
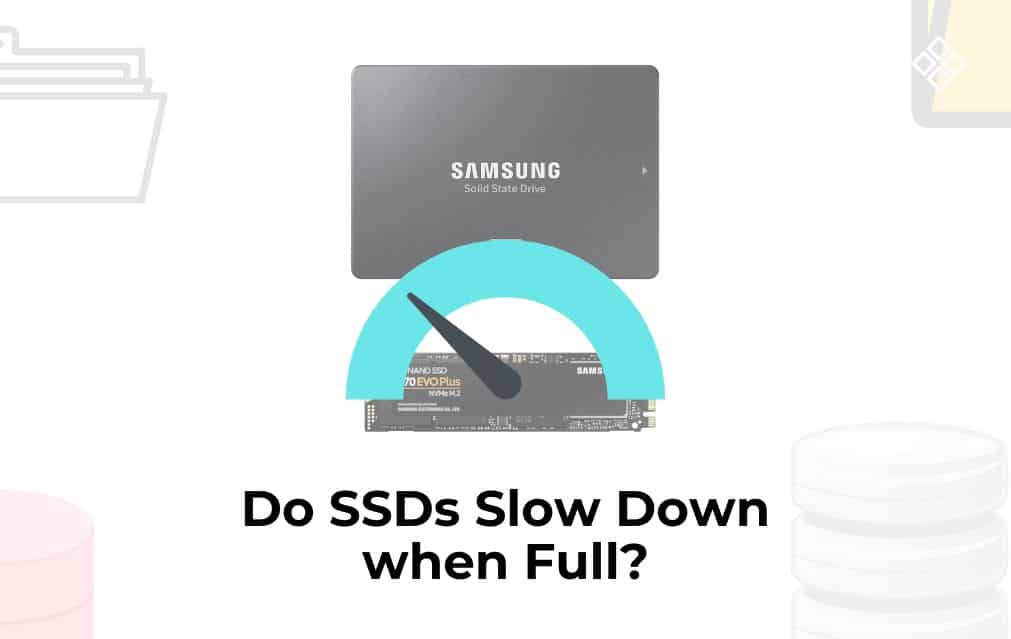
How fast do SSDs slow down?
Remember that just accessing or reading files in SSDs does not cause them to slow down.
When the disc is being used to write multiple files, the slowing down process begins. Additionally, the lack of uninterrupted blocks throughout the writing process frequently contributes to the slowing problem.
If you have a lot of free or empty blocks, your disc will simply write the file. No data will be replaced by it. If you are unaware, firmware is frequently included with SSDs. Any rubbish will be collected with the firmware’s assistance. Unfortunately, your SSD’s firmware requires room in order to operate flawlessly. This explains why having enough capacity on your solid-state drive can help you achieve high performance and write operations that are performed more quickly.
Speaking of the potential for a slowdown, we will remark that anything above 75% might cause the SSD to act up. Stick at 75%, and once you see that your SSD is at the target level, you should cease adding new files to it. Experts frequently suggest adhering to 80%.
Factors that contribute to slowing down the SSD
Traditional hard drives operate differently from SSDs. Both store data, even though they serve the same purpose. The Solid-State Drive locates the required vacant blocks while you are working with a file and are prepared to save it, then writes and stores your important data for as long as you need it to.
The quickest method of writing data and storing it is to fill an empty block with data, which is the major justification for operating systems like Microsoft Windows, macOS, and Linux to enable TRIM.
An operating system can utilize the TRIM capability to instruct the drive to locate and remove any data from the blocks that make up a deleted file so that the drive can rapidly fill them up with fresh data in the future. This technique was created expressly to enable your operating system to notify the SSD that specific data blocks should be removed since they are no longer required.
Next, the SSD must first remove the data inside the blocks if they are not empty before new information can be added to them, which might add a noticeable delay and degrade performance.
SSDs can only pack information in 4 KB to 8 KB files in a 256 KB block. Hence, as the SSD runs out of free blocks, you may end up with blocks not completely filled, which also slows down the drive. This sounds easy, right? However, the issue is that the solid state drives cannot write new data straight to unused space within a block since doing so would essentially wipe out any existing data.
If there is a solution, where the write operation modifies the content of the pre-existing block to add new content, and then re-writes the contents to the SSD, it would still be a slow process. This is because this entire process is highly time-consuming. As a result, performance gets affected since the speeds supposed to be used for transfers get allocated elsewhere.
Ways to boost a slowing SSD
Here are a few steps you can take to boost your SSD if it is slowing down:
1. Enable TRIM
In contrast to HDDs, solid-state drives store data in a different method. Your drive must first clear the old data before you can put fresh data into the device. The lengthy cleaning procedure may cause your SSD speed to decrease. Hence, enabling TRIM is crucial. To activate TRIM, adhere to the following steps:
Step 1: Open Windows search and type “cmd” into the search box, after which you must then select “Run as administrator.”
Step 2: Enter the following command line: fsutil behavior query disabledeletenotify.
Step 3: Next, determine whether TRIM is activated on the SSD by looking at the command line.
- When the value of NTFS DisableDeleteNotify is zero, TRIM is activated.
- “TRIM is deactivated,” according to NTFS DisableDeleteNotify = 1.
- You can keep typing on the command line if your TRIM technology is not enabled.
- Type fsutil behavior set disabledeletenotify 0 into the command line.
- Then activate it by pressing Enter.
2. Enable write caching
In order to improve the speed of your SSD, write caching is required. However, it leaves your PC open to data loss in the event of an equipment power outage. So, if you decide to accept the advance, adhere to these instructions to activate TRIM:
Step 1: Click “Device Manager” from the context menu of the Start icon.
Step 2: Click “Properties” after expanding “Disk drives.”
Step 3: Select “Enable write caching on the device” under the Policies tab.
Step 4: Click on ‘OK’ to accept and close.
3. Remove unnecessary junk files
Step 1: In the Start menu, type “Disk Cleanup”. Click on it to launch the application.
Step 2: Choose the drive that needs cleaning, and then click OK.
Step 3. Remove the trash files that were inspected.
Step 4: On the Start menu, look for Defrag. Click to launch the software after that.
Step 5: To maximize the performance of an SSD, you can choose the targeted SSDs.
Select the drive, then select “Optimize.”
Conclusion
SSDs are great storage devices for storing all of your important data. However, an SSD that is over 75% full can slow down which can be an inconvenience. By following these steps, and optimizing the SSD, it is possible to make it work faster again.