
I don’t know why you want to erase your Samsung SSD. You might be selling your PC or the SSD itself. Handing it over to somebody could be the reason.
But, I am here to help you do it properly. Secure erasing your SSD means you are properly cleaning your drive so that nothing remains there for any purpose.
Secure Erase is different from Drive Format. In formatting, you simply erase the data blocks but the data can be recovered if you want. However, in secure erase, you completely overwrite the data blocks to the neutral position and the data can’t be recovered back.
In simple words, you will reset your Samsung SSD to the factory. Any OS Data will also be deleted. So, make sure to back up everything if the data is important to you.
1. Download the Samsung Magician Software
You can download it from the official website right here. Samsung Magician is completely free software. Depending on the type of SSD you are using, download the right version of Samsung Magician Software. Once, the software is downloaded and installed, you can go further.
2. Connect an Empty USB Drive to your computer
A minimum 2GB USB drive is enough to handle this task. But, I would recommend having at least 8GB. It will be good if you format it before using it for this task.
3. Click Secure Erase and create a bootable drive
On the bottom left side, you will see an option for Secure Erase. Click it and then choose your SSD in the Drive option and USB drive in the Select USB option. It will take some for the software to create the bootable drive.

Once, the bootable media is created, click OK in the next dialog and the system will restart in the BIOS/UEFI menu. If the system doesn’t restart, go to the BIOS menu manually.
4. Boot from Secure Erase Bootable Drive
Inside the BIOS/UEFI menu, change the boot drive and select the bootable drive. Now, the BIOS menus can vary depending on the manufacturer. But, the process will be the same.
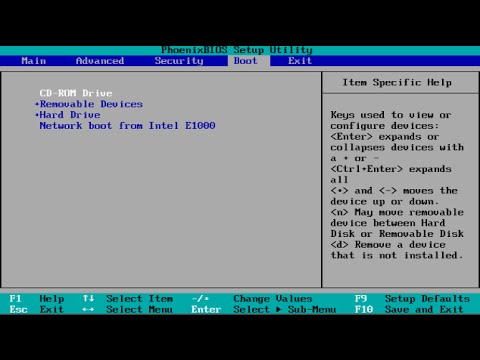
If the bootable drive doesn’t show up, change the boot mode from UEFI to Legacy.
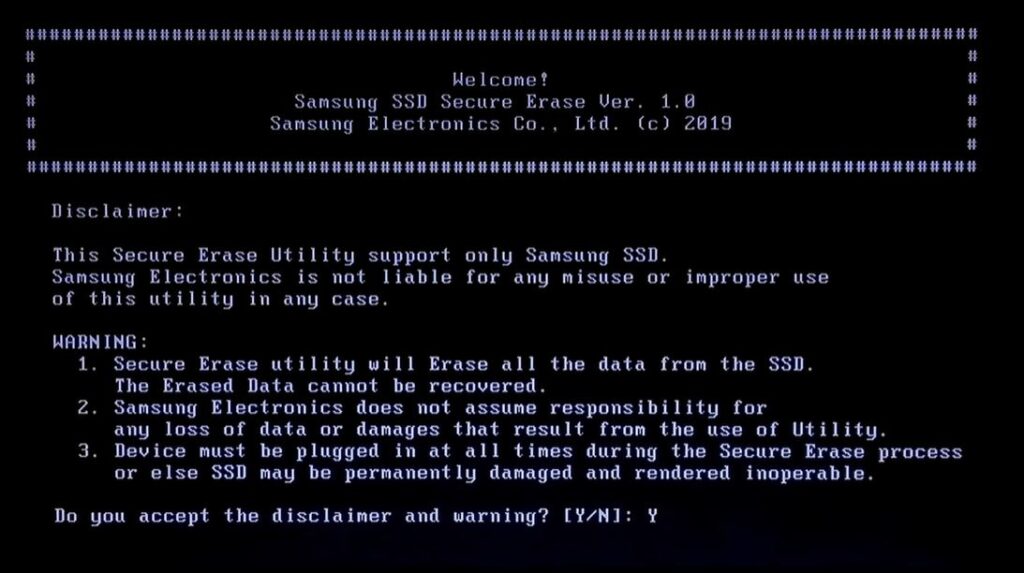
5. Give Secure Erase Command
Read the disclaimer if you want and Type “Y” and hit Enter.
Now, click the right number for your SSD. If you have a single Samsung SSD in your computer just type “1” and hit Enter. Then, you will be asked to type “Y” or “N” to go further or back. Just give the “Y” command and hit enter.
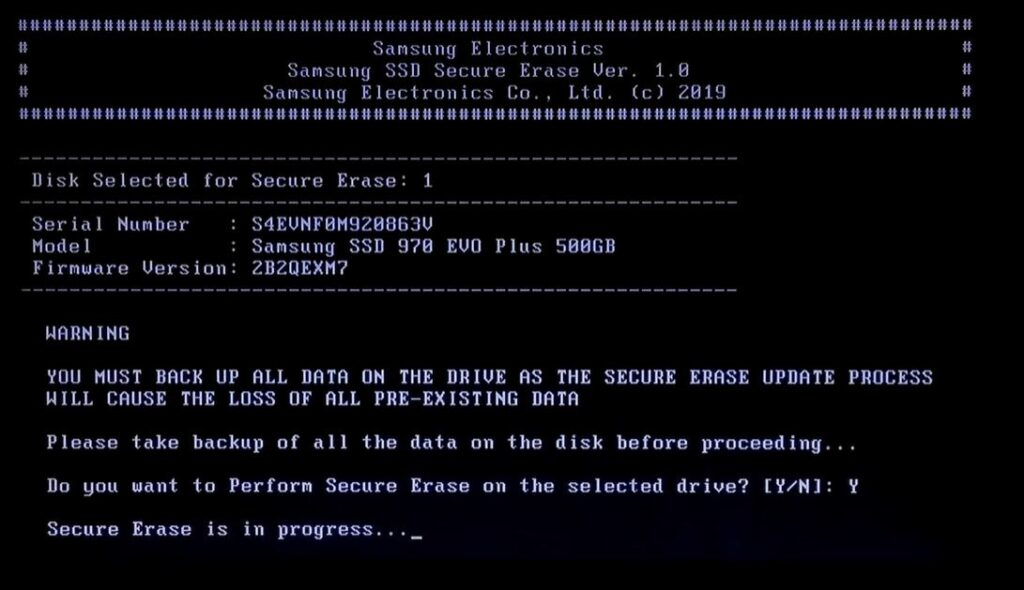
Once secure erase is done, you will press any key to restart your computer and you will go to the BIOS again.
Make sure to change the boot mode to UEFI if you have changed it earlier in the last steps.
Save changes and your system will restart.
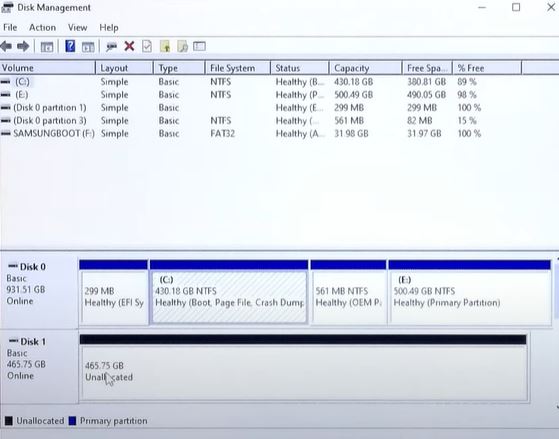
6. Mount your SSD
You can now create a partition for your erased SSD. But, before that, you will have to mount it first. For that, go to the Disk Management menu. You will see your SSD drive.
You can watch this video for a visual guide. In this video, the SSD is secure erased on a UEFI-based motherboard.
Thanks for Reading! Let me know your thoughts in the comments.