
Gen 3 NVMe SSDs are cheaper compared to the Gen 4 NVMe. We can say that they are much more practical. In fact, a Gen 3 NVMe SSDs are more than enough to eliminate your storage bottlenecks on any kind of PC.
In very powerful computers or super-strong gaming builds, you may feel the need for a Gen 4 NVMe SSD such as Samsung 980 Pro or WD Black SN850.
But, today we are here for another topic. We are going to answer the most popular question related to Gen 3 and Gen 4 NVMe SSD compatibility.
I assume that you all know that all the PCIe Gen 4 motherboards and Gen 4 CPUs are backward compatible with Gen 3 devices. So, it is true that you can install and use a Gen 3 NVMe SSD on a Gen 4 motherboard slot.

Let’s talk some more about this question here in this article.
What are PCIe Gen 3 NVMe SSDs?
M.2 NVMe SSDs use the PCIe lanes to transport the data from one point to another. These lanes are way faster than the older SATA lanes. For your information, NVMe is the transfer protocol and M.2 is the form factor of these SSDs.
So, the latest and the most updated PCIe interface is Generation 4. Generation 3 is still not outdated but is inferior to Generation 4. The maximum practical speed you can ever achieve with any Gen 3 NVMe SSD will be 3500 MB/s. Generally, you will find most Gen 3 SSDs offering around 3000MB/s read speed and the write speed will be even lesser.
What are PCIe Gen 4 NVMe SSDs?
As we discussed above, gen 4 NVMe SSDs are the fastest consumer-level SSDs in the market. With the continuously improving CPUs, RAMs, and motherboards, we can say that an urgent need for these SSDs is there.
These SSDs can offer you a maximum data read speed of 7000 MB/s. Now, this max speed will vary depending on the products you are choosing.
But, the point is that the Gen 4 SSDs are made for high-end systems where your CPU and RAM are capable of utilizing that 6 and 7 GB/s data read/write speed.
Also Read: Difference between Gen 3 and Gen 4 SSDs
Are Gen 3 SSDs compatible with the Gen 4 motherboards/CPU?
Yes, you can install a Gen 3 SSD on Gen 4 motherboard. The good thing about the PCIe storage interface is that is it both forward and backward compatible. The form factor of both Gen 3 and Gen 4 SSDs is the same. So, you are going to see no compatibility issues here.
The only thing that can possibly happen is that you cause some sort of bottleneck for your CPU. This will happen only when you are using a very powerful CPU and working on something where huge data read/write speed is required. But, you will be able to use your system without any problems.
Is there anything you should do in order to use a Gen 3 NVMe on a Gen 4 Slot?
The installation will be just like you will do on a Gen 3 motherboard. There is nothing you will have to do and you should do it after installing a Gen 3 SSD on a Gen 4 slot. You can simply use your SSD software after the installation and do anything you want.
The only thing to notice is that you will get the Gen 3 SSD speed even when you use it on a Gen 4 motherboard.
Steps to install a Gen 3 NVMe SSD on a Gen 4 motherboard slot
1. Get your NVMe SSD
First of all, you will have to buy a Gen 3 NVMe SSD from any reliable online or offline store. You can check this article if you want to know more about how to buy an SSD. Some popular names are Samsung 970 EVO Plus, Crucial P5 Plus, WD Black SN750, etc.
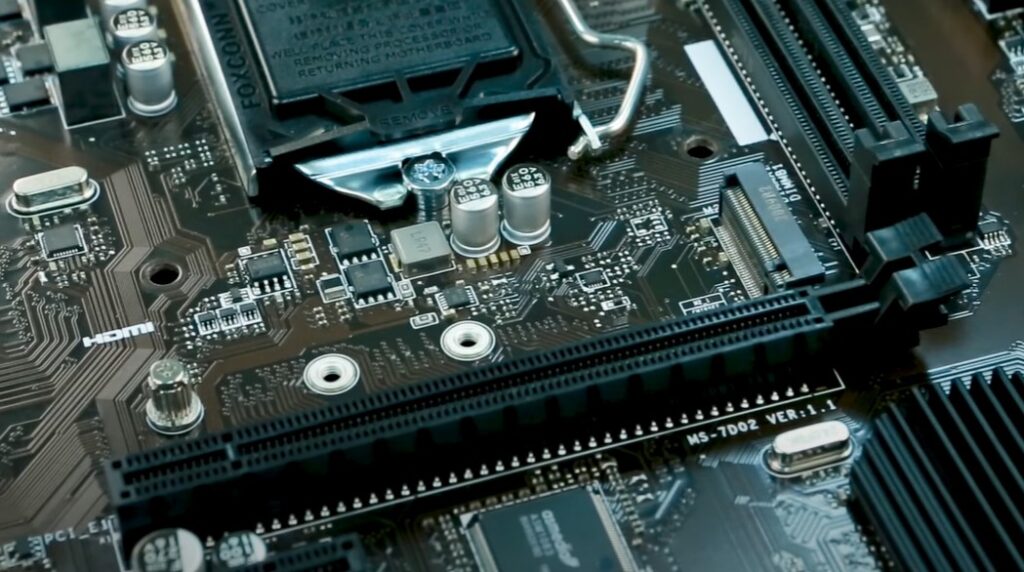
2. Open the M.2 Installation Screw
Now, depending on your motherboard, you may see two kinds of SSD installation screws. Some are simple M.2 lockers with a plastic notch. Here, you don’t need a screwdriver for the installation. In some other motherboards, you may have to open the M.2 screw and then proceed with the installation. In some motherboards, there will be a heatsink over this slot.
3. Slide in the M.2 NVMe SSD
Insert the SSD inside the slot at a 30-degree angle.
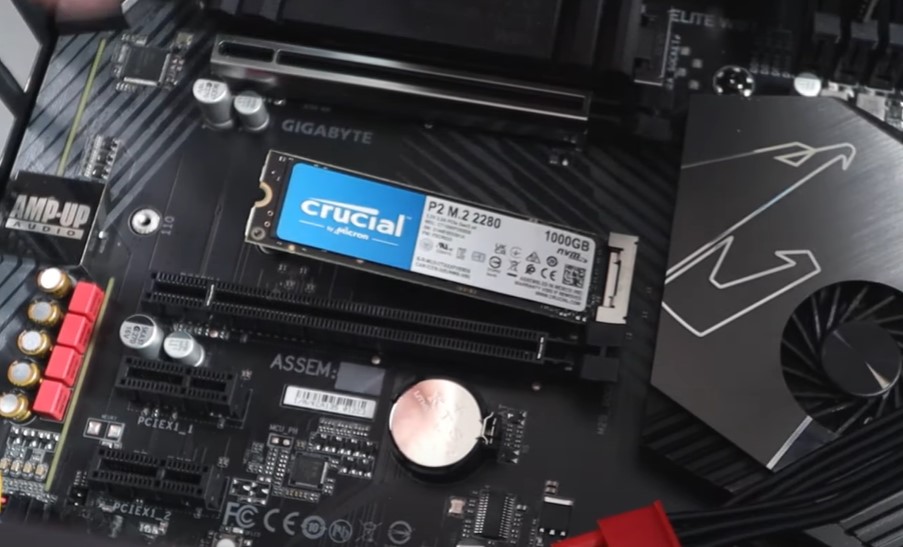
4. Tighten the Screw
Push the SSD down and tighten the same screw over it. If there is an M.2 locker just slide the plastic notch over the SSD and the installation is done.
5. Enable NVMe in the BIOS if required
Now, you can enter the BIOS and enable the NVMe mode if it is turned off. The BIOS/UEFI settings will vary depending on the motherboard. So, go through your motherboard user manual or search online to see how this happens.
6. Mount your NVMe SSD if required
The next step will be to mount your SSD. This will happen by going to the disk management menu in Windows. You can simply search for Disk Management in the Windows search bar. Inside that menu, you should see an unallocated drive. Right-click it and create a new sample volume. Follow the settings and your new drive will be ready to use.

How much speed will you get from a Gen 3 NVMe on a Gen 4 slot?
Theoretically, a Gen 3 SSD should give its highest speed on a Gen 4 slot. You can always check your SSD’s highest speed by going to its official website. To be specific, there will be no bottleneck happening in this case because you are installing a slower SSD on a much faster SSD slot.
Final Verdict
I hope you are now aware of how to use a Gen 3 SSD on a Gen 4 NVMe SSD slot. I would like to repeat that there will be no problems while using your SSD in this way.
Share your thoughts in the comment section!