
Do you own a Dell Inspiron 15 3000 Laptop or any other near-related laptop in this series? You can find lots of Inspiron 15 laptops equipped with hard disks. Now, we all know the drawbacks of HDDs and the benefits of SSDs. If you don’t know, you should read this article.
So, if you want to upgrade your Dell Inspiron 15 with an SSD, this article is here to help you with the same. I am going to discuss the complete procedure of how to install a new SSD in Dell Inspiron 15 3000 below.
Along with the installation, I am going to tell you how you can easily copy the existing OS to the new drive and make your system ready to use. We are going to do it step by step, so keep reading until the end.
But, before starting, let me answer some important questions to make this a much more smoother and effective upgrade for you.
So, without any further discussions, let’s get started.
Which SSD you can install in your Dell Inspiron 15 3000?
Again, there are various kinds of laptops you can have in the Inspiron 15 3000 series.
For example, if you have an Inspiron 15 3555, it can only accept the SATA-3 SSD which can reach up to the R/W speed of 600MB/s.
But, if you have a laptop like Inspiron 3501, it can work with up to two Gen3 x4 NVMe SSDs which can reach easily up to the R/W speed of 3GB/s.
So, I would suggest you using this Support tool from Dell and check the exact storage specifications of your laptop first of all. You just have to find the user manual of your one and see what kind and size of SSD your laptop can handle. It will help you to make your purchase wisely and get the most out of your SSD without any potential losses of wrong purchases.
Now, if the user manual of your laptop says that your laptop can handle the SATA 1.5Gbps drive, it is better to buy the SATA 2.5 SSD only. Also, if there is an M.2 SATA Port is given, you can buy a SATA M.2 to save your space. Read this article to choose between the M.2 SATA and SATA 2.5″ SSD.
But, if the user manual is indicating that your laptop has an NVMe slot and it can work with the NVMe, you can surely go for the NVMe as well. You can follow this article to know about the differences between the M.2 SATA and M.2 NVMe.
Read the complete SSD Buyer’s Guide 2021 for more information on SSDs.
| Image | Model | Features and Specs | Price |
|---|---|---|---|
 | Samsung 870 Evo | Capacity: 250GB – 4TB Interface: SATA Speed: 550/510 MB/s Endurance: 2,400 TBW | Check Price |
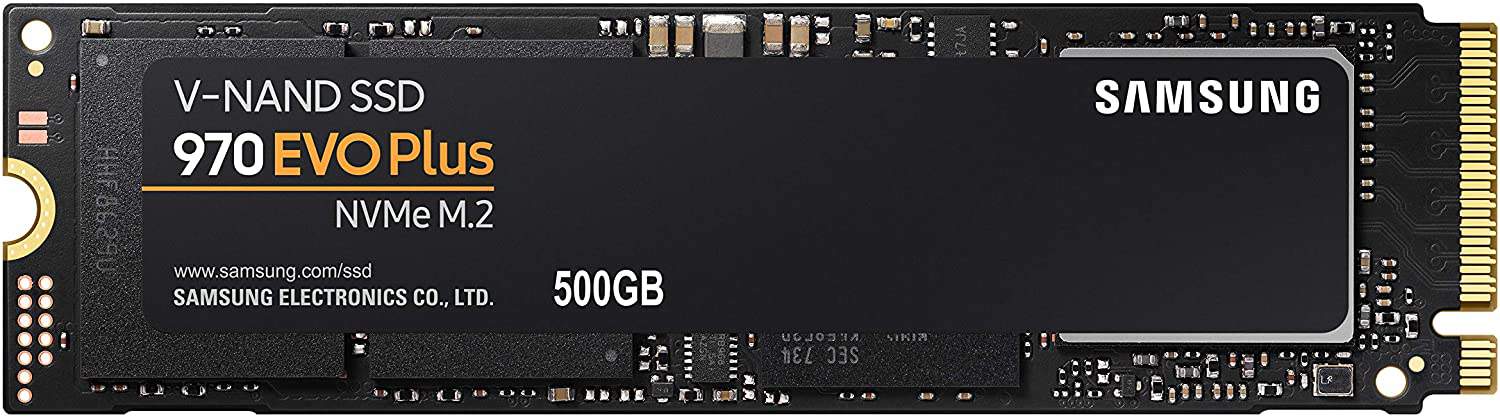 | Samsung 970 Evo Plus | Capacity: 250GB – 1TB Interface: PCIe (M.2 NVMe) Speed: 2200/2000 MB/s Endurance: 720 TBW | Check Price |
Steps to Install an SSD in your Dell Inspiron 15 3000?
We are going to cover all the small and big steps you will have to follow. Make sure to follow them systematically.
1. Have a data backup
Although there are very few chances of data loss during this process, I would suggest you have a proper backup if you have important data stored on your storage device. You can easily use any free backup software to do the same in a very easy way.
2. See how your laptop is going to open and arrange tools
All this information will be available with the user manual which you will find on Dell’s official website. But, all the laptops in this series come in two main types.
The first one is with the screws under your keyboard and this one will be tough to open. So, I am going to discuss the whole process for this one below.
The second one with the screws only on the bottom side. This one will be very easy to open up.
Note: If your laptop is not of this type, don’t worry. Below is the guide for you.
3. Power off your laptop and purge any residual power
Now, there are three things you have to do here. The first one is to power off the system and removes any wire connected to it along with the charging cable.
Once the system is shut down and the battery is removed (if it’s an external battery), just press the power button for five seconds to remove the residual power. If it’s an internal battery, we are going to do it in another step.
The next step is to prepare your workplace and make yourself free from static energy. For this, you can just tough any metallic part of your laptop. A metallic port is a good place for this.
Along with this, check which type of screw driver is going to be used. Mostly, you will need #0, #1, and #00 screwdrivers. But, you can do a visual check for better knowledge.
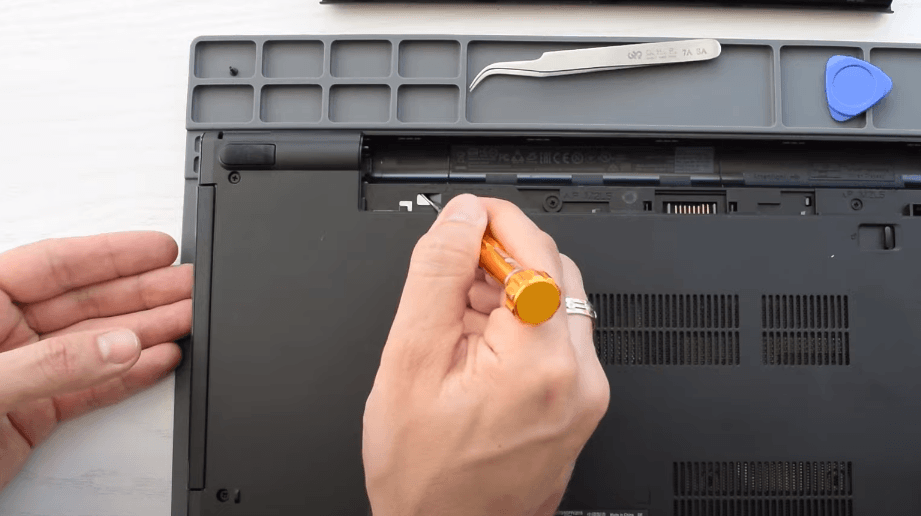
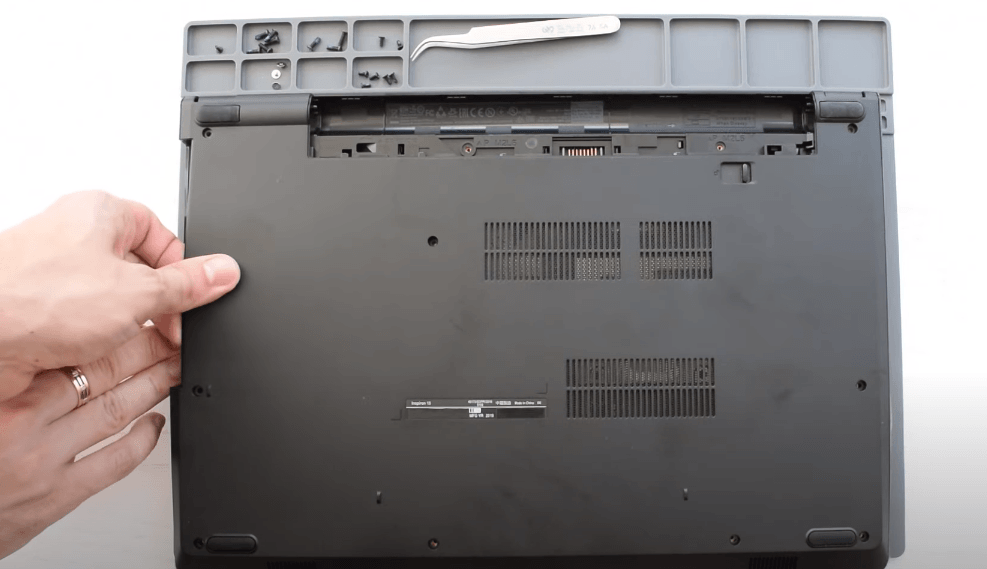
4. Open the screws from the bottom
Some screws can be there in tricky places. So, make sure to check the battery cavities and under the stick-on rubber pads. Unscrew all the screws and open your laptop normally.
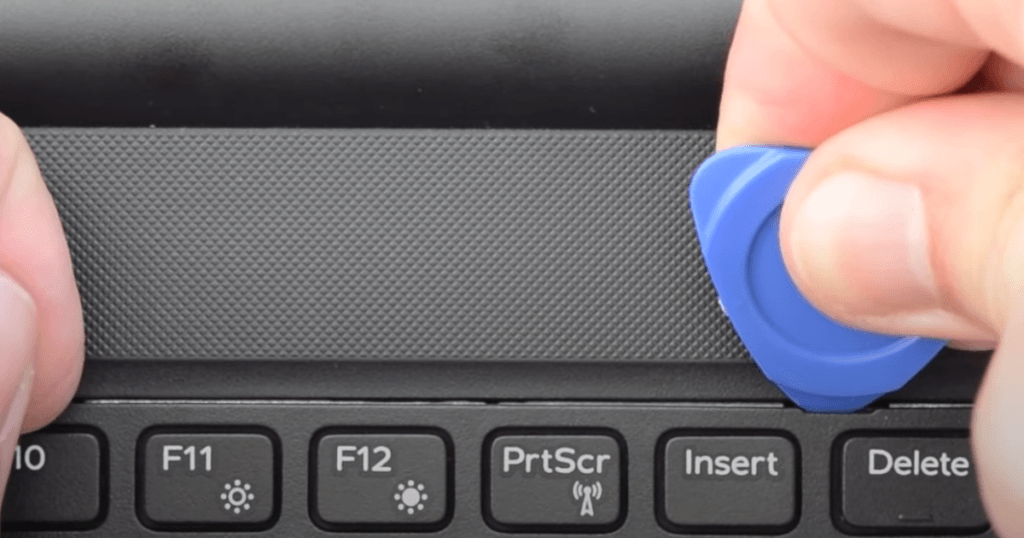
5. Get your keyboard out
The next step is to remove your keyboard and it can be a scary thing for most of you.
But, don’t worry. Just push a small and flat screwdriver or a plastic piece into the keyboard panel between the laptop body and try to grab it out gently. You will have to do this from all four sides and your keyboard will get out. Make sure to disconnect the connection wire from its lower end.
Note: If your laptop keyboard is non-removable from the outside (i.e. only the keys are out from the body), you can jump to step 7. Watch the YouTube video above for a better understanding.
6. Open the screws from the main frame
Under the keyboard, you will see some more screws which you will have to open. Just open them and you are done with all that unscrewing.
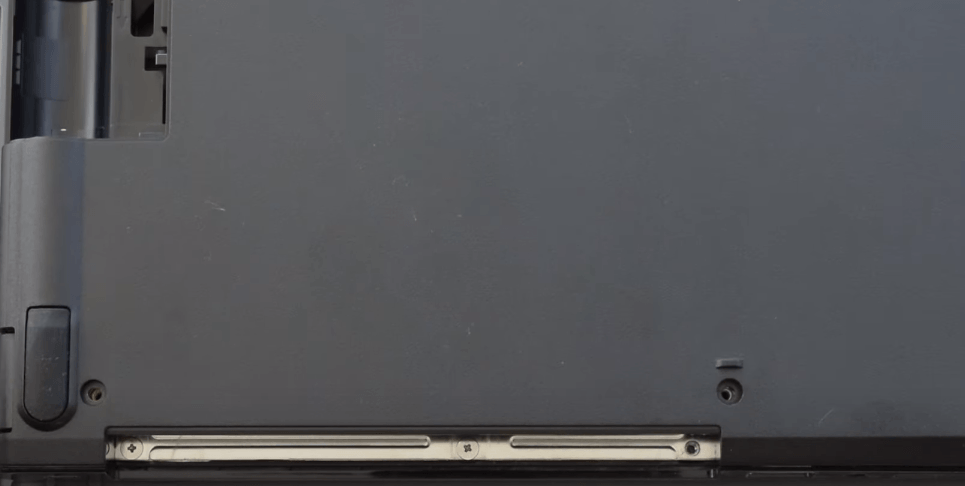
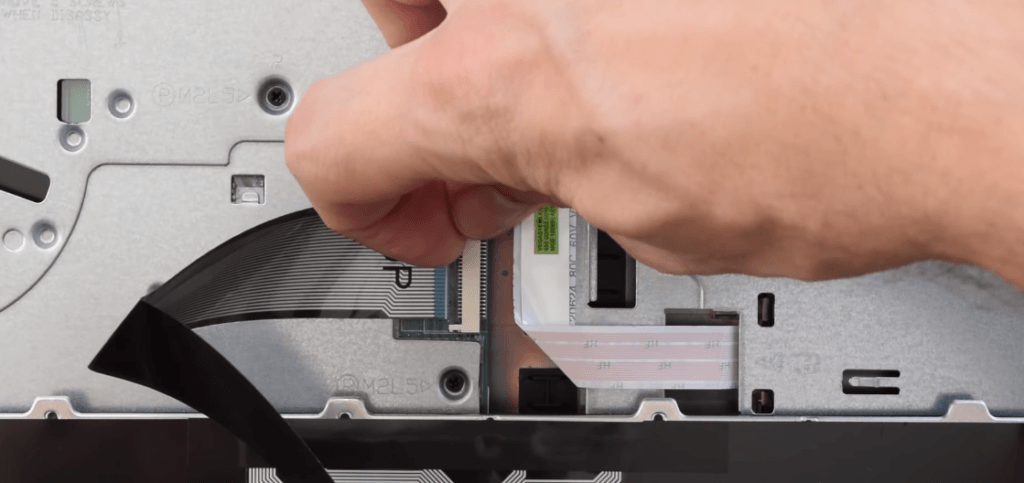
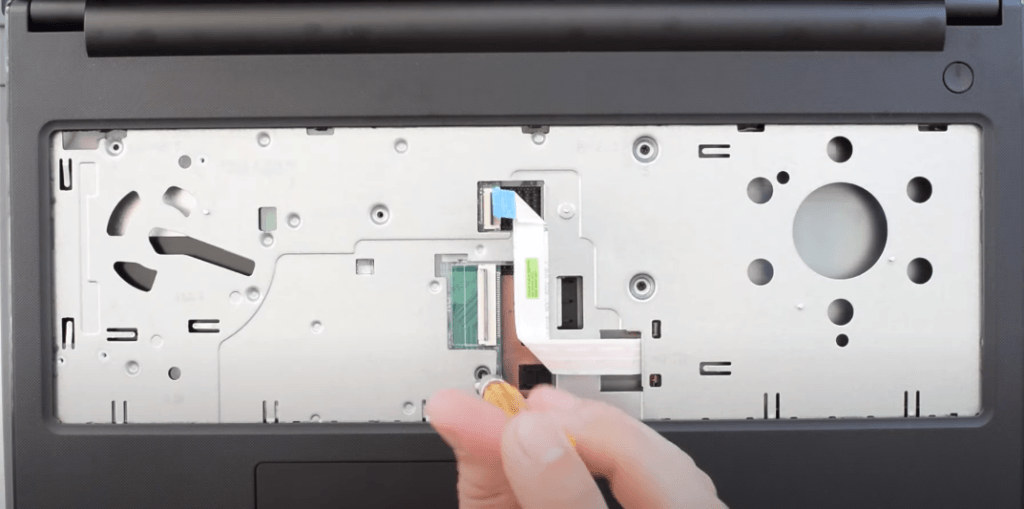
7. Start taking the back panel out
You may have to get your DVD drive out using a sim ejector tool. Also, push it aside as you can see in the image.
Note: Once the back panel is opened, make sure to disconnect the battery from its port. After this, you will have to press your power button for 5 seconds and keep the system free from any residual power.
The next step can be a little bit tough depending on the times you have actually opened your laptop earlier. If it’s getting opened for the first time, the locks can be pretty tough to detach.
But, just take the small flat screwdriver and start pulling out your back panel from any end. Do this in all the side until you think the panel is free from the main body.
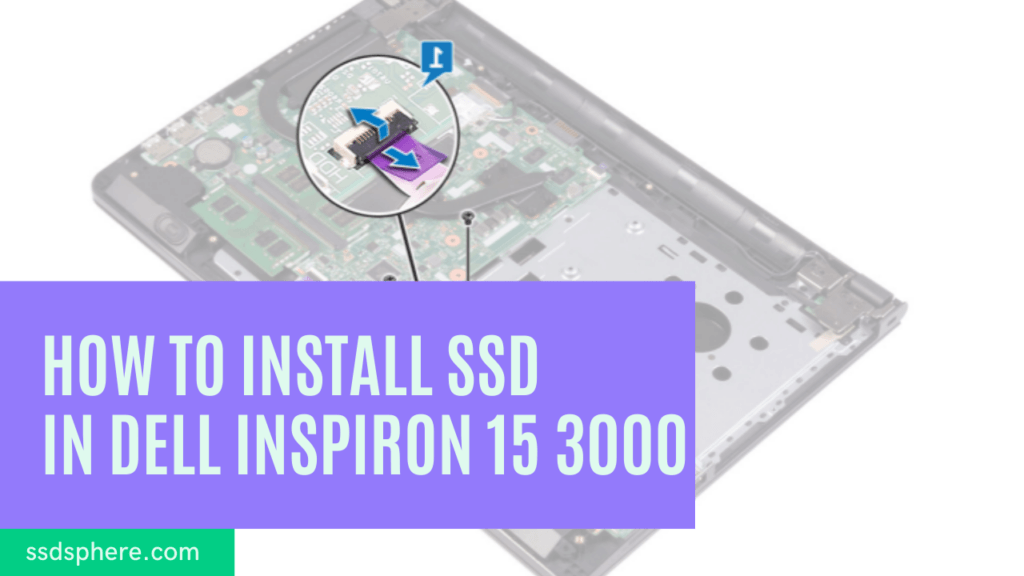
8. Locate the Hard Disk or M.2 port
Now, it’s the time to do the job. If you are going to install an M.2 SATA or M.2 NVMe SSD, see where your port is given. If you are about to install a SATA SSD at the place of your Hard disk, just see where it is located.
The M.2 ports will look like this:
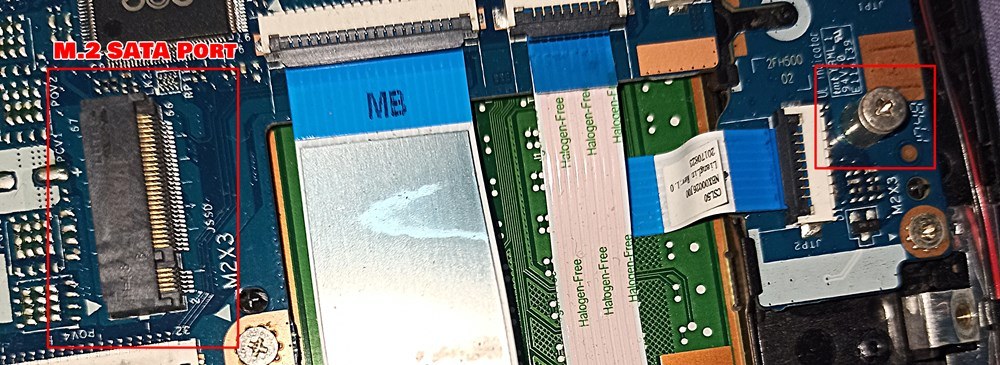
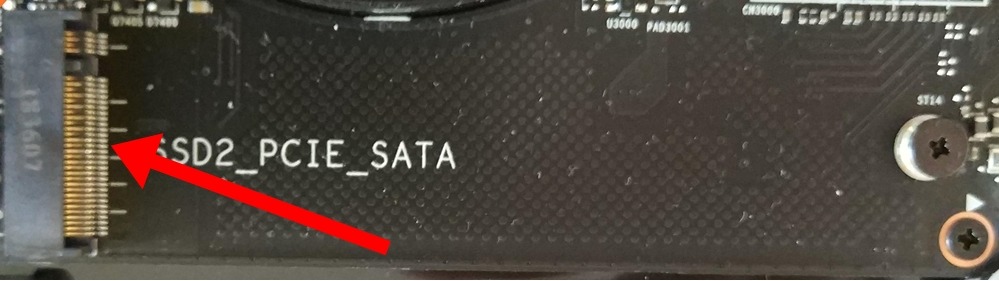
The basic difference between an M.2 SATA and M.2 NVMe port is that the M.2 SATA only port will have a notch on the left side. It can only fit and run the M.2 SATA SSD. However, the M.2 NVMe port will have a notch on the right side and can run both M.2 SATA and M.2 NVMe SSDs perfectly.
9. Install the SSD
Installation process for SATA 2.5″ SSD
Just, unscrew the screws on your hard disk and take it out. Now, take your hard disk out from its frame by getting the side screws removed.
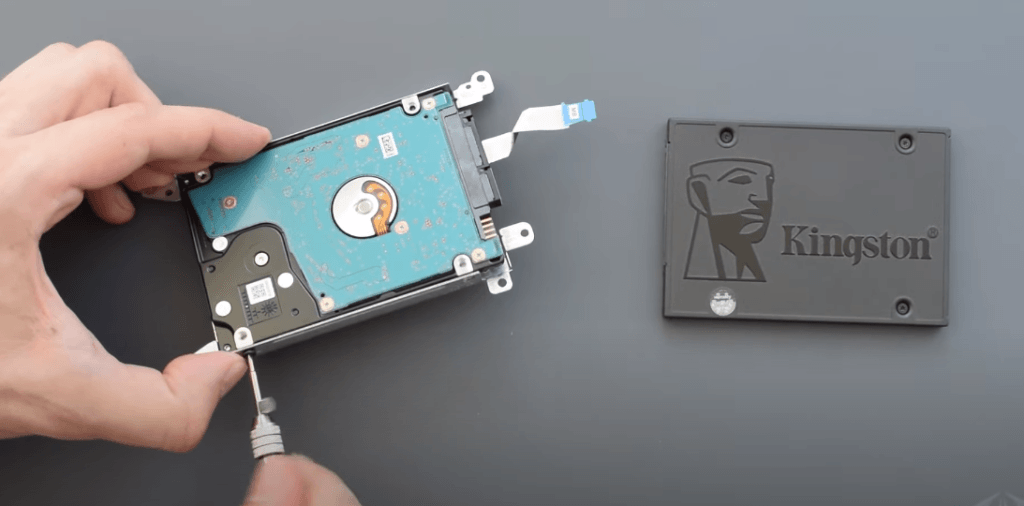
Fit your SSD at the same place inside that frame and fit it in a similar way to how the HDD was installed. That’s it.
Installation process of M.2 NVMe or M.2 SATA SSD
Unscrew the screw given in from on your M.2 port as you can see in this image.
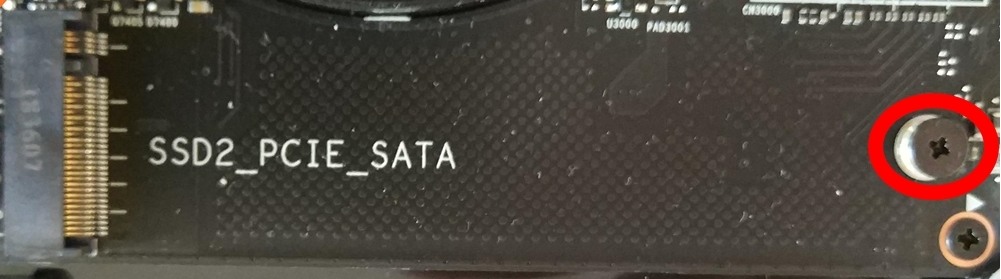
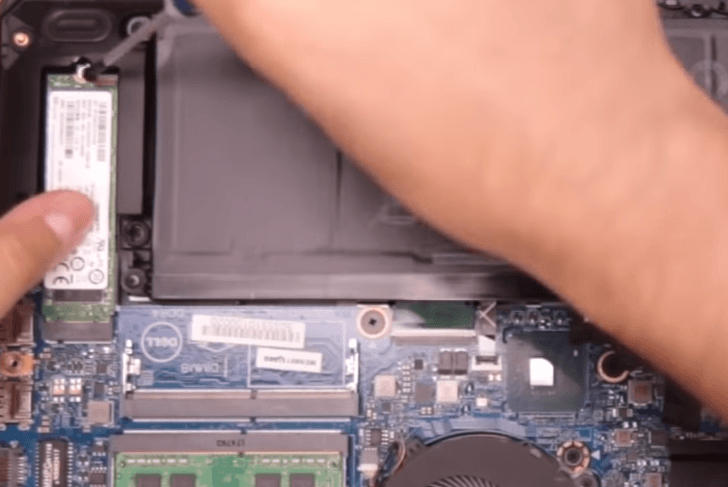
Grab your SSD and fit it inside the port at an angle of about 30 degrees. Press it down and on the screw cavity and tighten the screw. That’s it with this as well.
10. Attach the cover, keyboard, and tighten the screws
All the physical aspects of your SSD installation are done. I would suggest you watching YouTube videos to do everything in a much more precise manner.
Now, you just have to plug in all the connection wires to their connectors which you have removed i.e. battery, etc. Also, tighten the below-keyboard screws first of all and then fit in your keyboard. Afterward, you can tighten the bottom screws and finalize this process.
How to move your existing OS to your new SSD?
If you have kept the existing hard drive or SSD in your system and just installed a new one, the migration process will be very simple. You can easily use free software like Macrium Reflect to do one-click OS migration.
However, if you have removed the existing drive and you have nothing but an empty SSD in your system, the process will be a little bit different. For this, you will have to buy a SATA to USB wire.
One side of this cord will get connected to your 2.5″ SATA or hard disk and the second to your USB. So, basically, you can use your hard drive as a USB drive to copy all the OS files.
1. Plug-in your hard disk using the SATA to USB cable
Just, make sure that you have plugged in your SATA drive using that cord. Now, enter your laptop BIOS.
In order to enter the BIOS, you press a special key like F11 or ESC while the system is booting up. Once you are inside the BIOS, go to the System Configuration menu and change your boot priority drive to the hard drive connected through the USB.
Now, your system will boot up from the old HDD.
2. Install Macrium Reflect Software
Just download Macrium Reflect and open it. You should see your OS drive there along with an option that says Clone this disk.
Note: In some Windows computers, you will have to mount your new SSD before you start using it. For that, just open Run Command by pressing the Windows+R key and type diskmgmt.msc. Inside the Disk Management menu, right-click your new (faded) SSD and click Create New Volume.
3. Start the cloning process
Once the disk is mounted, go to Macrium Reflect and click Clone this disk. Now, choose all the Windows elements by ticking them. Choose your new SSD as the target. Proceed for the migration and wait for some time to let this happen.
See this YouTube Video for more information on cloning through Macrium Reflect.
4. Change BOOT priority from the BIOS
Once the cloning process is finished, you will have to enter the BIOS again and change your boot priority from the hard disk to your newly set-up SSD. Now, when you save those settings and restart the system, it will boot up from your SSD.
So, this was all about the set-up and OS cloning process for your new SSD installation in Dell Inspiron 15 3000 series laptop.
How to do a clean Windows Install in your new SSD?
Below is the process of installing and activating the new Windows in your HP Omen 15 laptop.
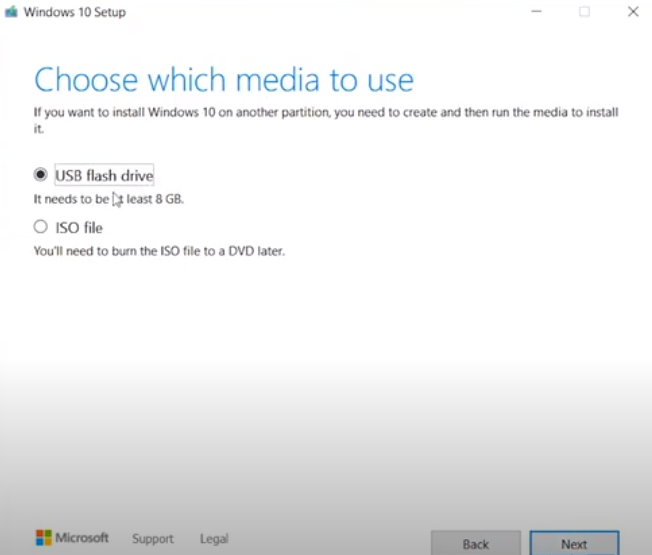
1. Create Windows Media Creation tool
For this process, you will need a pen drive/DVD in which you can make your bootable media drive. Consider having 8GB space at least in your DVD/pen drive. Make sure to format this drive before using it.

Download Windows Media Creation Tool for the Windows version of your interest. The tool is available for Windows 7, 8.1. and 10.
2. Install the Media creation tool on your pen drive/DVD
Once the download is finished, open this tool. Choose the option Create installation media for another PC. Choose the pen drive as your destination drive and let the Windows get downloaded inside it.
3. Enter the BIOS/UEFI and change boot device
Now, enter the BIOS/UEFI and disable Fast Boot and Secure Boot options. Just press F2 multiple times while the system is starting up and you will enter the UEFI.
- Go to the Advance Mode (F7) and go to the Boot tab. Now disable the Fast boot option.
2. Now, go to the Security tab and disable the secure boot Control option.
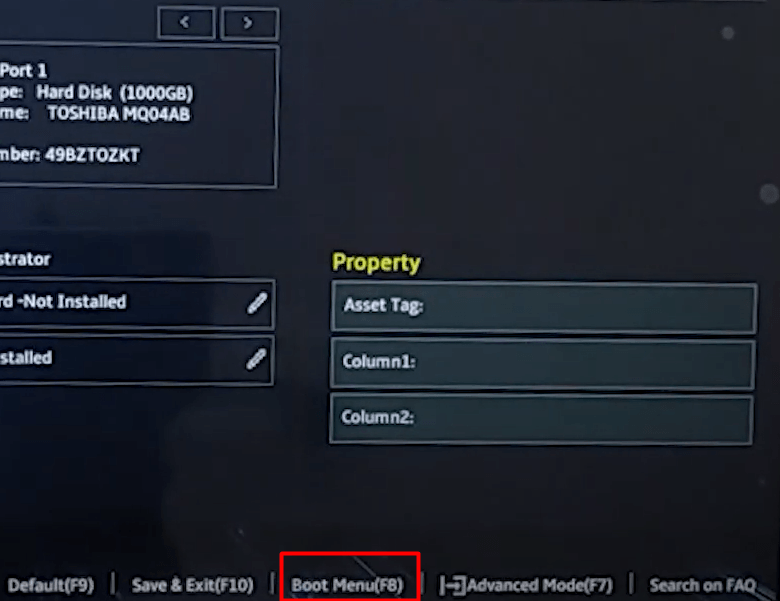
3. Lastly, in order to load your system from the pen drive, go to Boot Menu and select your pen drive or DVD where the Windows is downloaded.
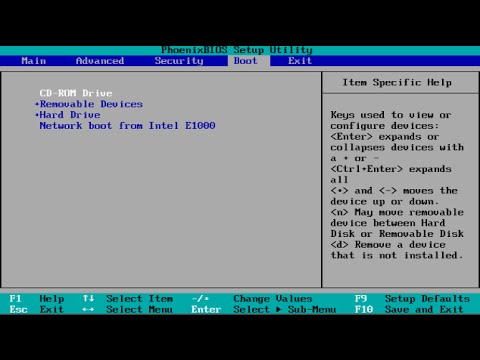
If your laptop is opening with a normal BIOS menu, go to the Boot tab and move the pen drive/DVD to the top to make it your boot drive. See the image below
4. Install and activate the Windows
The Windows Setup will start.
When you reach the menu, Where do you want to install Windows?, just choose your SSD and press Next. (You will probably see unallocated with your SSD). Do drive partitions if required. If not, you can go further, and then the Windows will get installed. Once the installation is finished, you can remove your bootable DVD or Pen Drive.
If you have an activation key, just follow this procedure and activate the Windows.
- Go to Windows Control Panel.
- Click on System and security. Then select System.
- Click “Get more features with a new edition of Windows”.
- Select “I already have a product key”.
- Then enter your product key and click on Next.
For more information on Windows activation, visit this page.
Final Verdict
I hope this article will help you perfectly with the installation process of any SSD in your Dell Inspiron 15 3000. If you are not confident opening your laptop, just don’t do it. You can easily find an expert nearby to install it for you. However, if you need any other help from me, just get in touch with me.
Thanks for reading!
Also Read: Best SSDs for your laptop!
Very beautifully explained. Everything is crystal clear for newbies. Thank you very much.
Hi Ajay!
Thanks for your kind words!
I appreciate you sharing this blog post. Thanks Again. Cool.